Installation
Installing The RexHue Asset Library
Navigate to the location where Rexhue Assets.zip was installed, and extract it to where you keep your assets. For instance: C:\Users\<your_user_name_here>\Documents\Blender\
Open Blender
Open up preferences: Edit > Preferences
Under File Paths > Asset Libraries, click the plus button
Navigate to where you extracted your files in the first step, open the folder, then click Add Asset Library
Click the burger menu icon at the bottom left and select Save Prefrences
🎉 The Rexhue Assest Library is now installed! 🎉
Adding Your Own Presets
Navigate to where you extracted the Rexhue Assets folder
Open the assets.blend file
Select the speed_shape object, and set the material to the one you wish to add to the asset library.
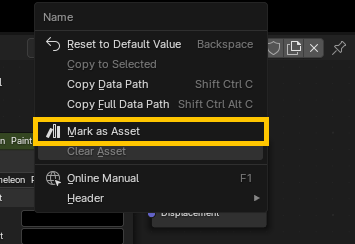
In the Shader Editor, right click the active material, and click Mark as Asset

With the new material assigned, and using the render settings already set in the asset.blend file, select Render > Render Image
Save the image somewhere inside Rexhue Assets
In the Asset Browser, under Unassigned, select your new material
In the Asset Details Region select the folder icon to Load a Custom Preview
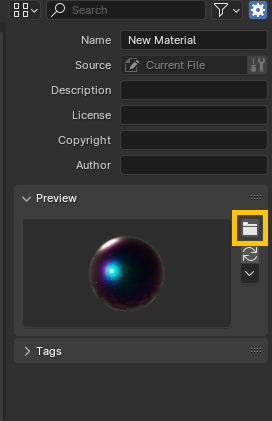
Select the image you just rendered and click Load Custom Preview
🎉 Your new asset is done! 🎉